The TechSmith Blog

Subscribe to TechSmith’s Newsletter
Join over 200,000 people who get actionable tips and expert advice every month in the TechSmith Newsletter.
Subscribe

More from our blog
How to Record a Webinar

How to Record a Webinar
Quickly learn how to record a webinar and turn it into a high-quality video.
Snagit vs. Camtasia: Which Screen Recorder is Right for You?
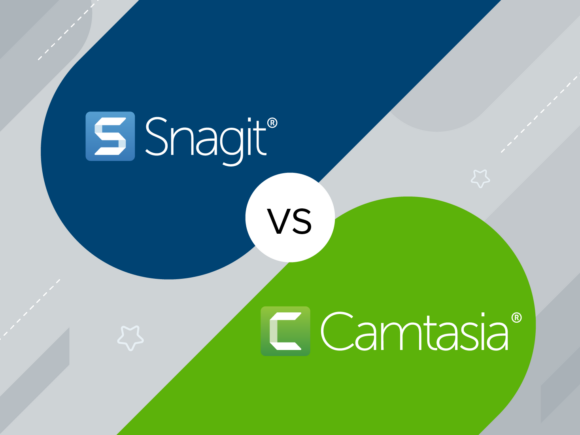
Snagit vs. Camtasia: Which Screen Recorder is Right for You?
Learn the differences between Snagit and Camtasia, what they can do, and how to decide which one is best for your project.
What Makes a Good Presentation? How to Make a PowerPoint 101

What Makes a Good Presentation? How to Make a PowerPoint 101
Often times when we think about how to make a presentation interesting, we focus on the visuals. We add animations and transitions, hoping that will keep our audience engaged.
Subscribe to TechSmith’s Newsletter
Join over 200,000 people who get actionable tips and expert advice every month in the TechSmith Newsletter.
Subscribe